
Importing an Inventory list:
- Go to the Inventory module.
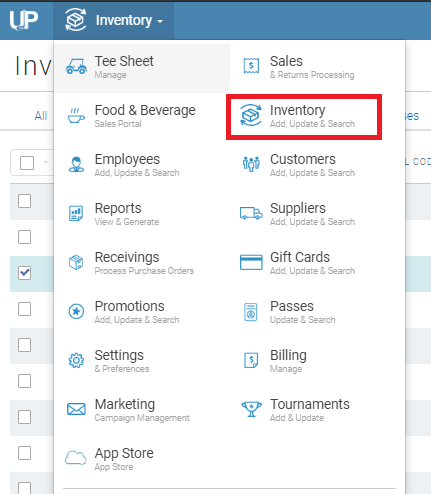
- Click on "Upload List".

- First, select the Inventory Category for Import. This determines which section the inventory will go under. (Retail, F&B, Gift Cards, etc.).
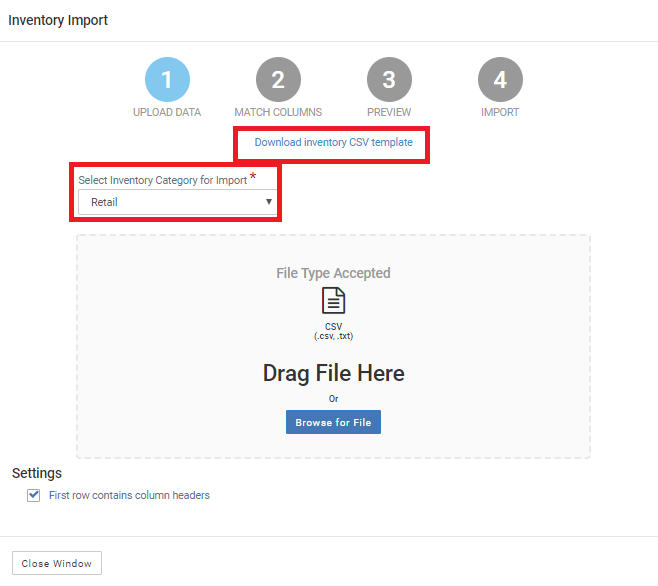
- Click on "Download inventory template (CSV)".
- A download link will appear at the bottom of your screen. Click on that link.

- Open the download and it will give you a blank excel spreadsheet with column headers. Fill in the information for each inventory item (copy and paste would be more simple if you already have the information in another Excel document). All information is "required" to save.

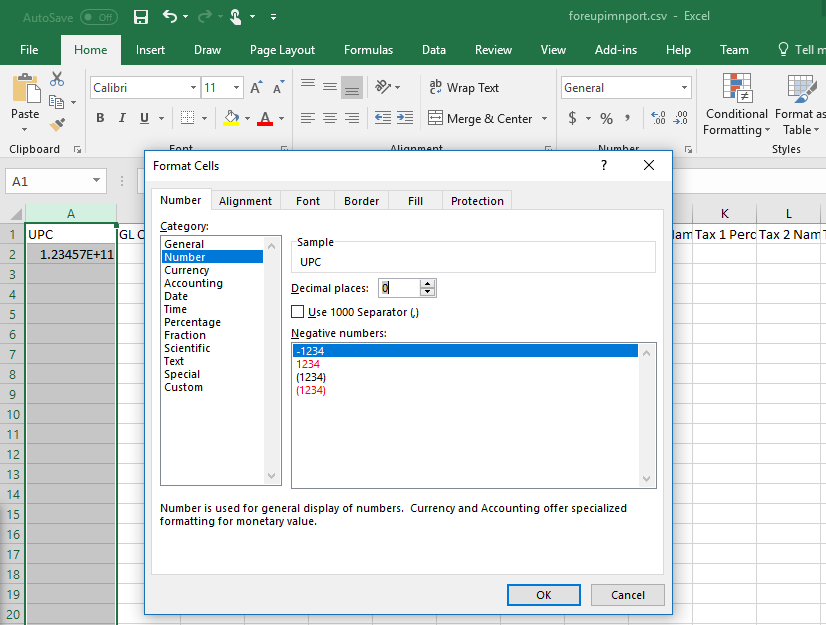
- If you are entering UPC barcode numbers, you must reformat the first column. By default, Exel will use scientific notation for the UPC # and this will cause an error when you import. To change this, right-click on the column where it says "A" and click on "Format Cells". Select "Number" and change the decimal places to 0. Now all of the UPC #'s you enter will remain 12 digits long.
- Once the Excel document is complete, save it. Note that only a ".csv" file can be imported, so don't save it as a normal excel file (.xlsx).
- Go back to the inventory page and click "Browse File" or drag the file into the "Upload List" screen.
- Hit "Continue".

- The next screen lets you decide which excel columns go into each inventory category. If you followed to column headers, you can just click "next."

- From here, you can enter an email address if you would like to receive an update when the import is done. This step is optional.
- Click "Start Import".
A successful import will look something like this. The imported Inventory will be added to your existing inventory.

Exporting your Inventory List:
- Go to the Inventory module.
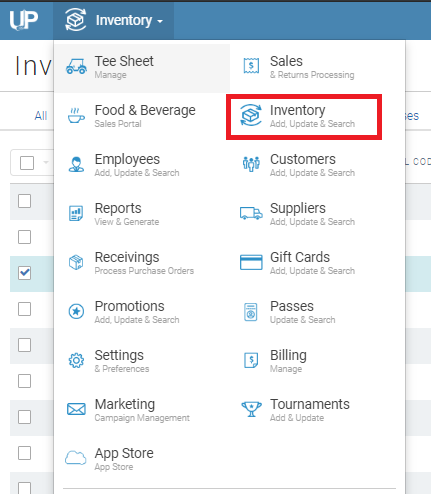
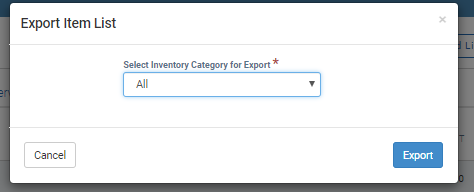
- Click on "Export List".

- You will then be prompted to "Select Inventory Category for Export". Once the category is selected hit "Export".
- A download link will appear at the bottom of your screen. Click on this to open.